Holes in the hull !

Or “don’t mess with the seacocks” 🙂

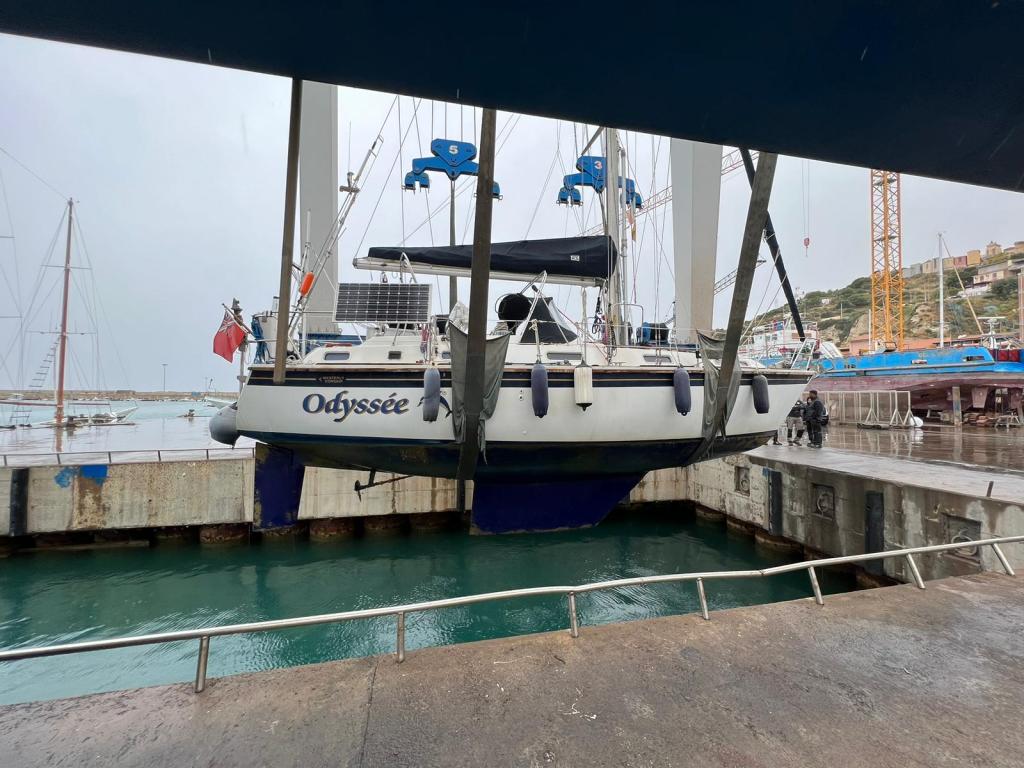
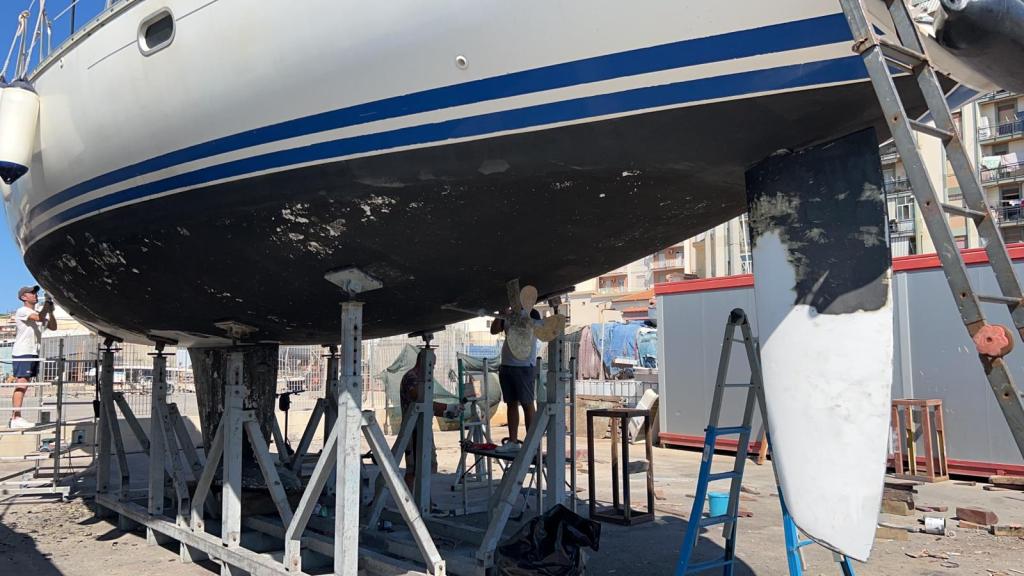
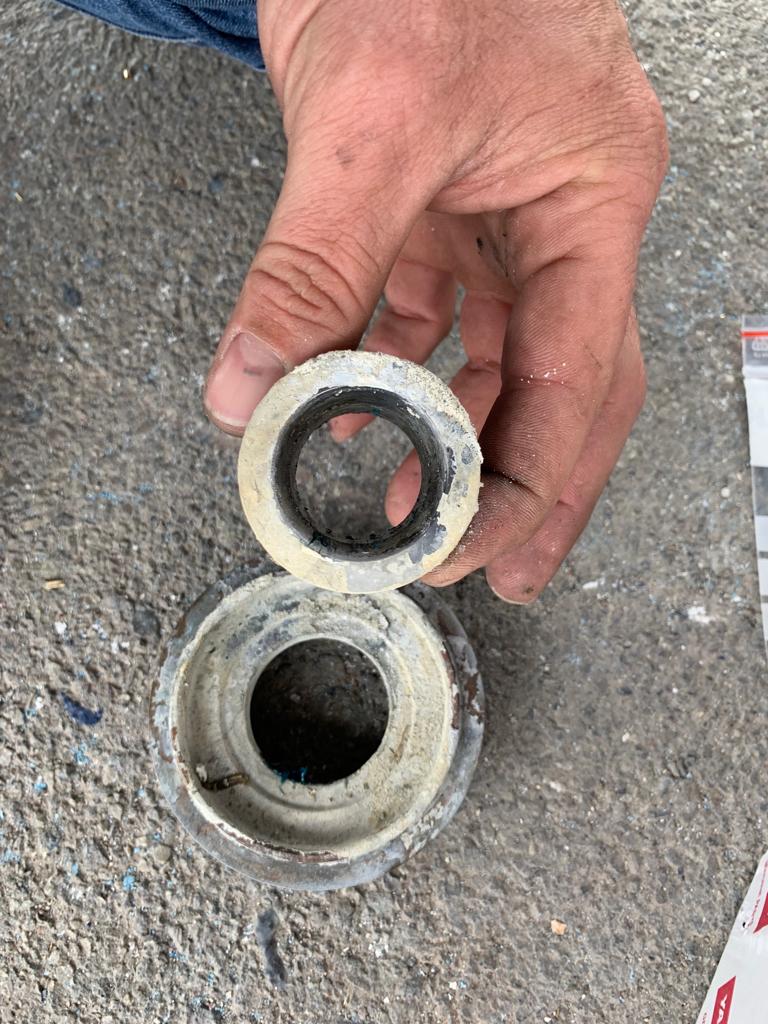
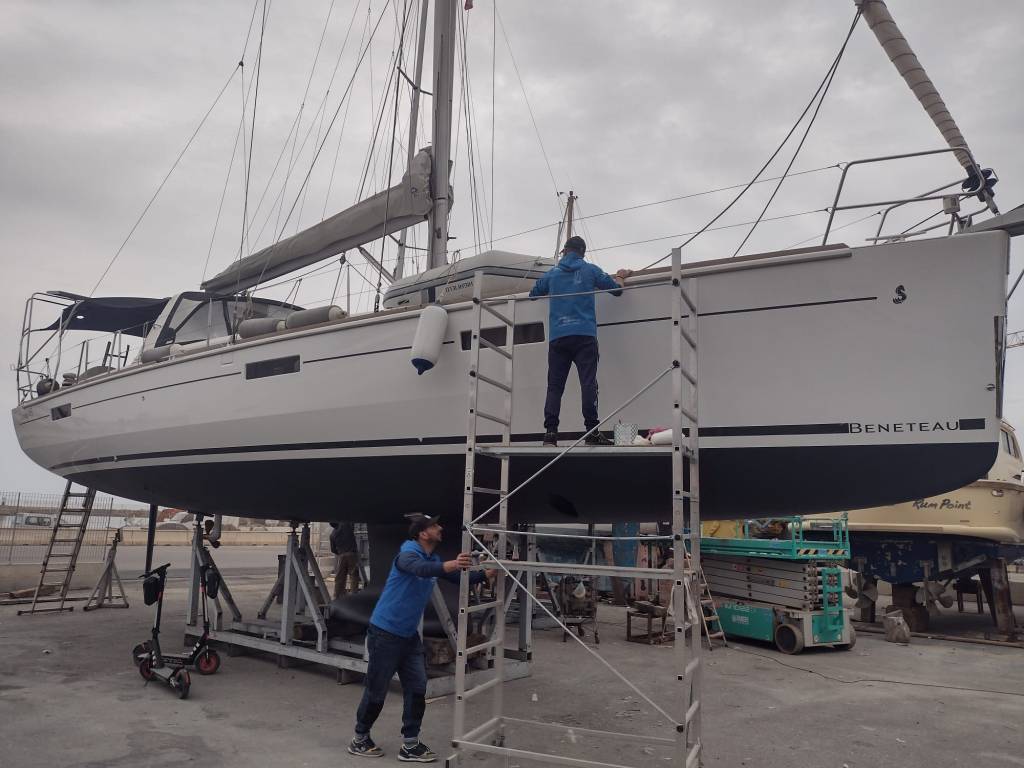
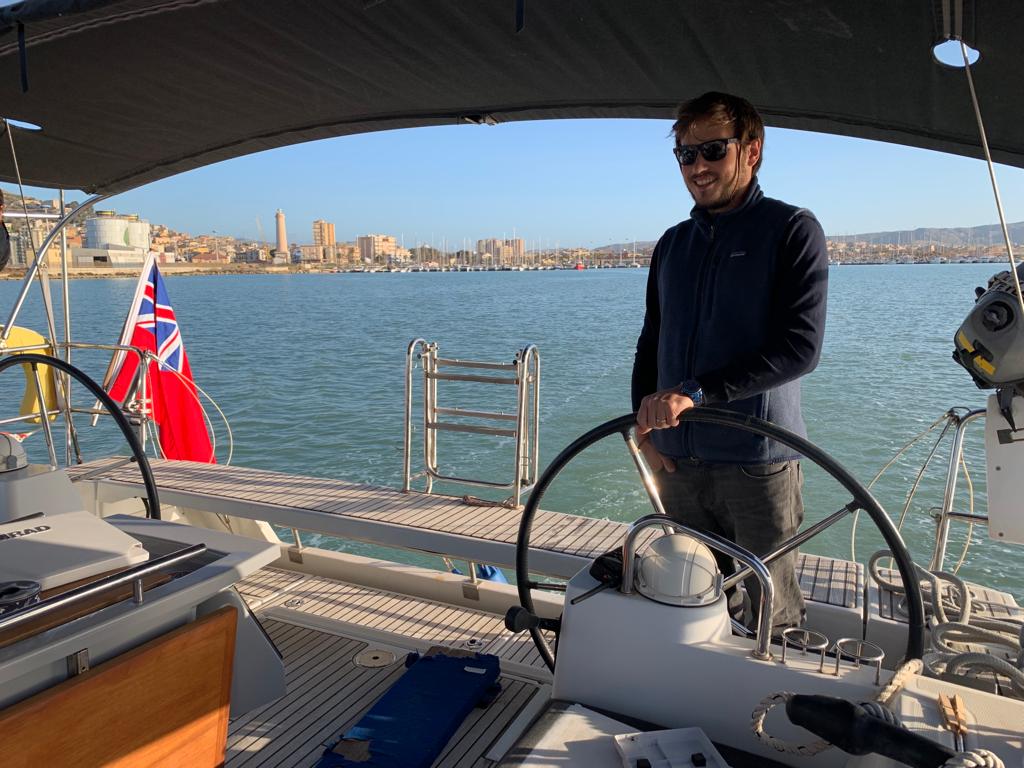
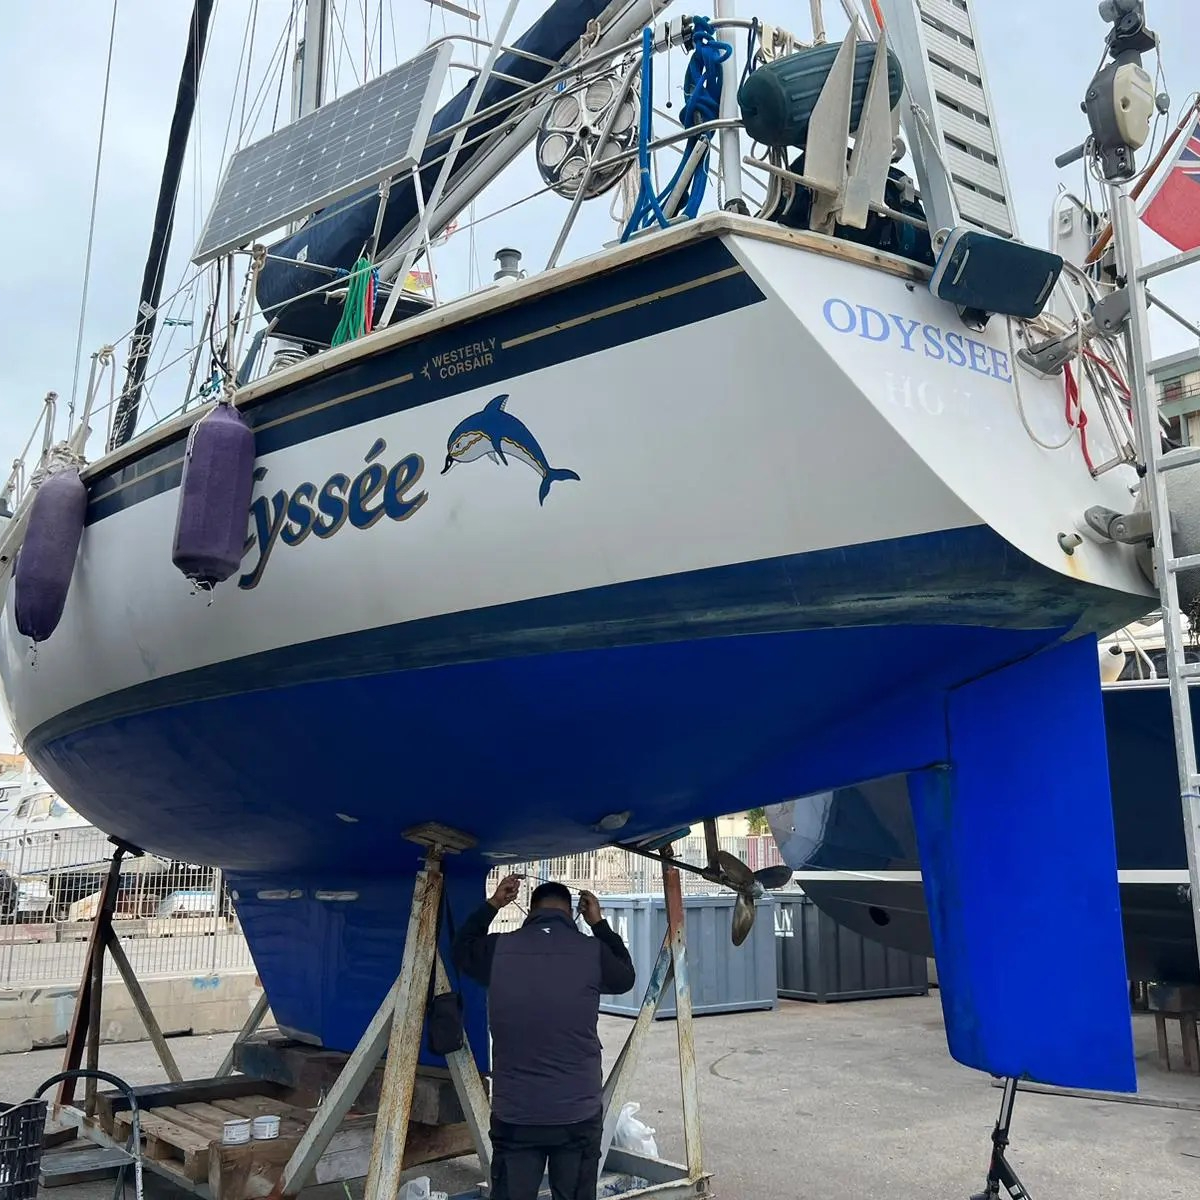
Sam, happy owner of s/v Odyssée, one of the 106 Corsair 36 units built by Westerly between 1983 and 1986, came to us for a complete refit of her original seacocks and some general hull work.

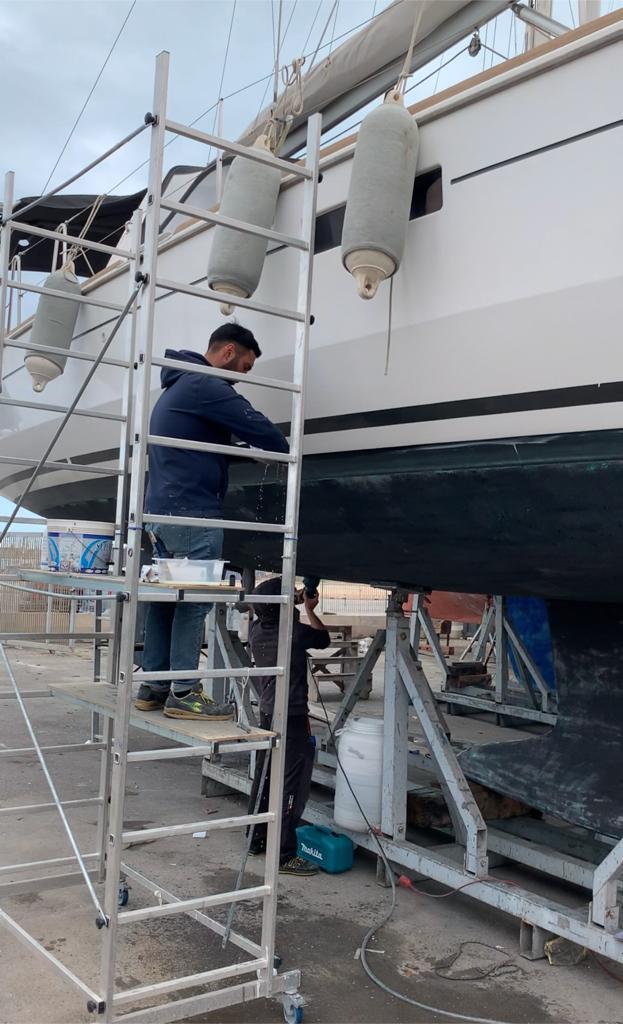
We get a lot of these long-delayed project when the sailing season approaches. But this time, we were lucky and we could find a slot with the crane and on the hard just long enough to work out the project.

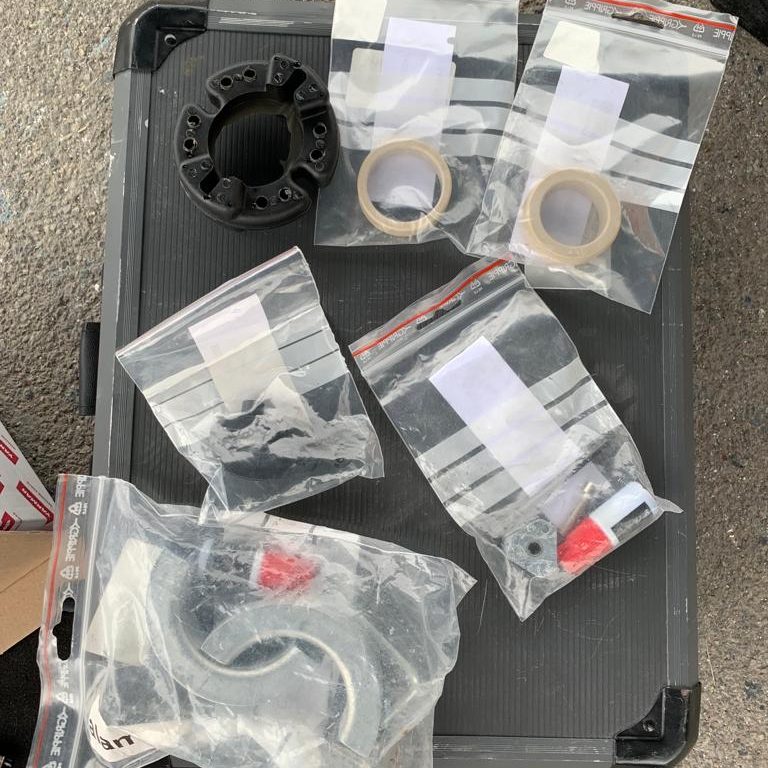
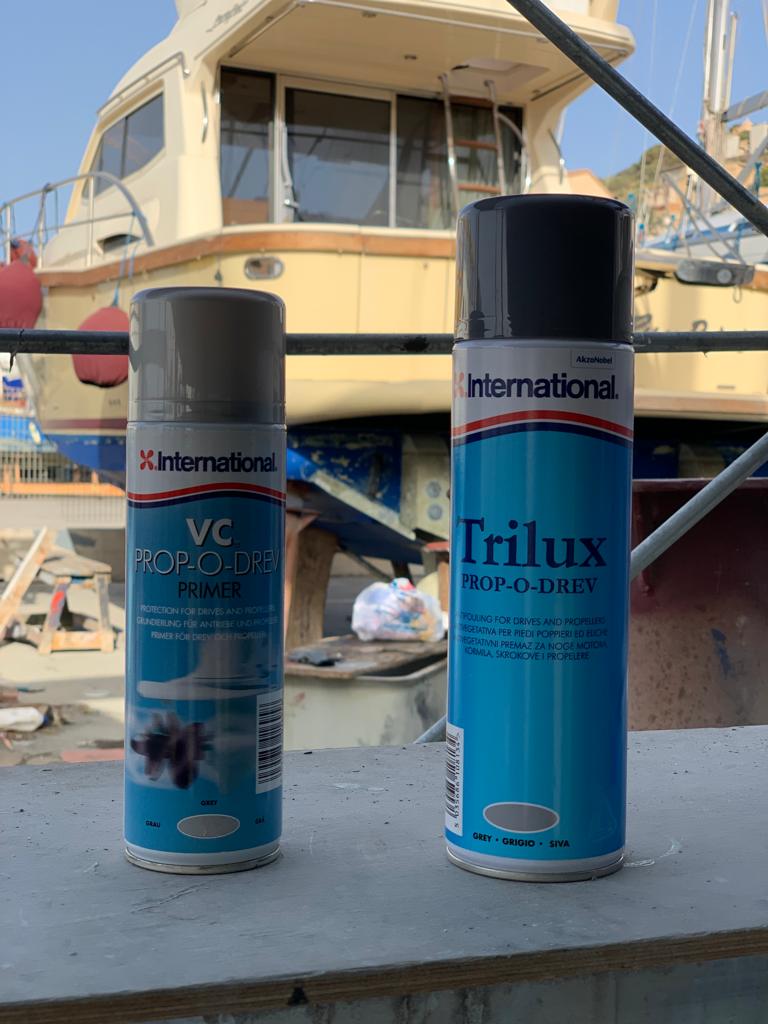
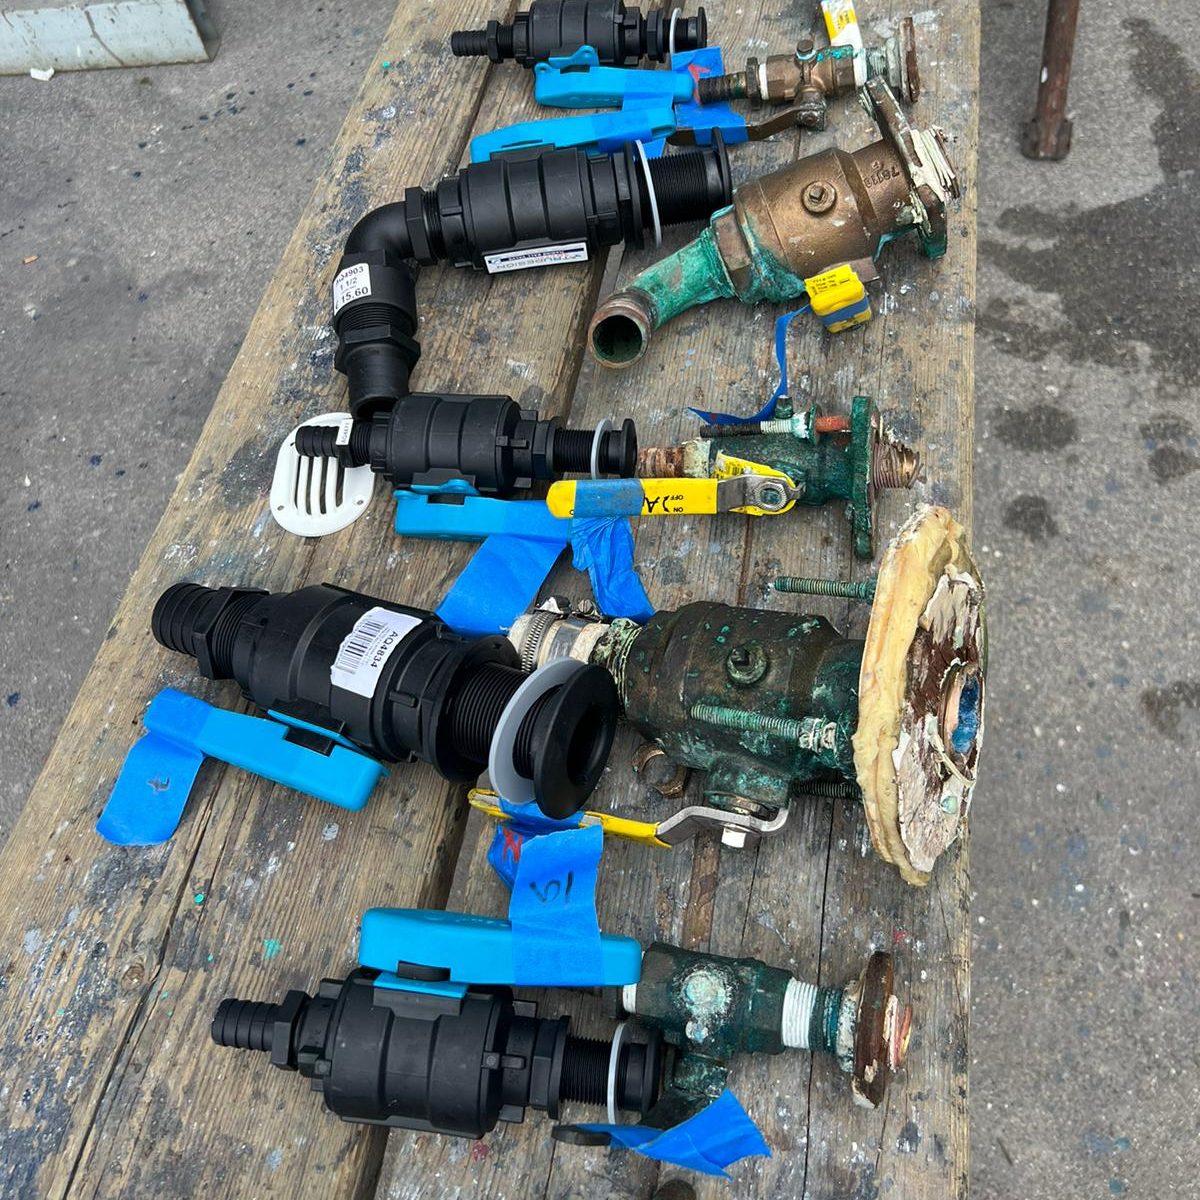
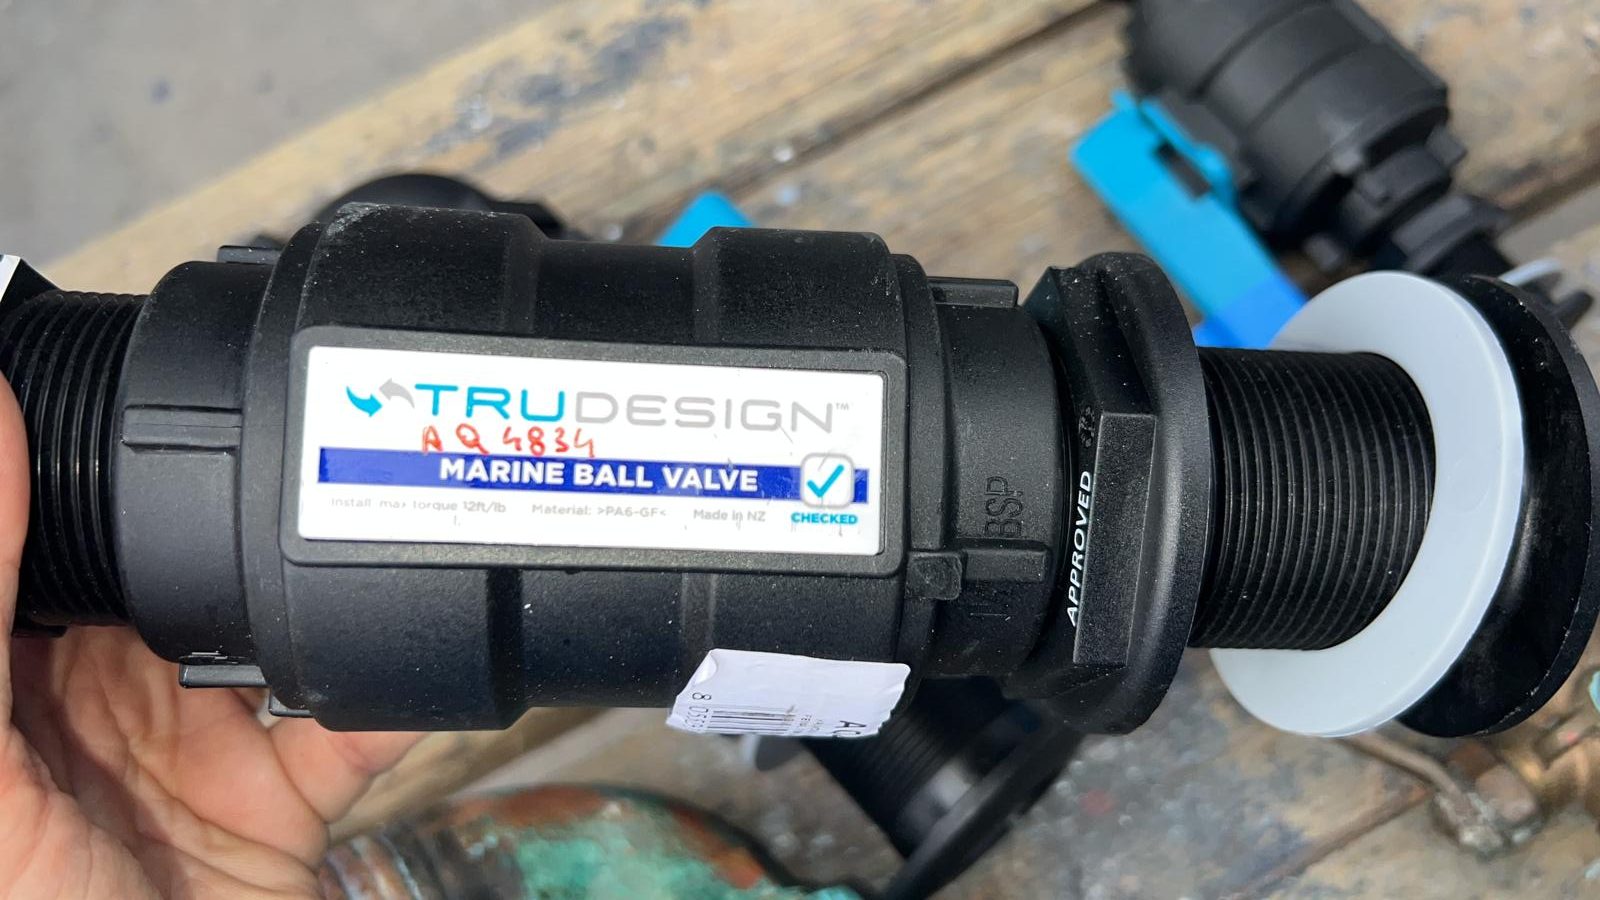
The decision was quicky made to replace all the original bronze seacock with state-of-the-art TrueDesign ones, from New Zealand.

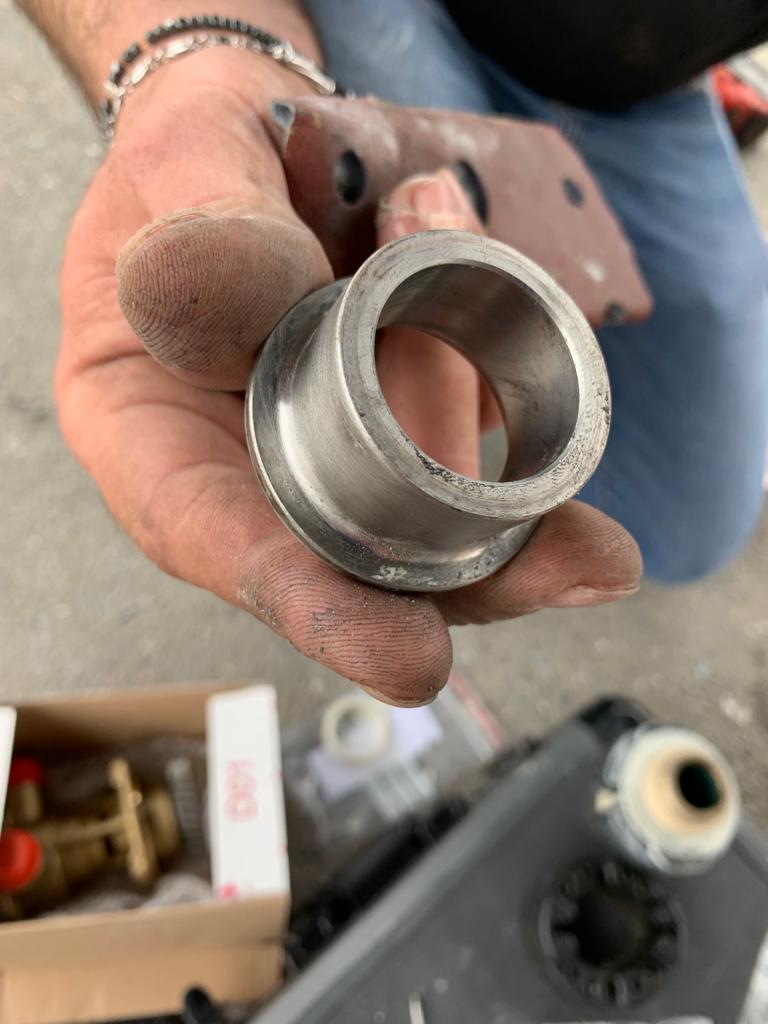
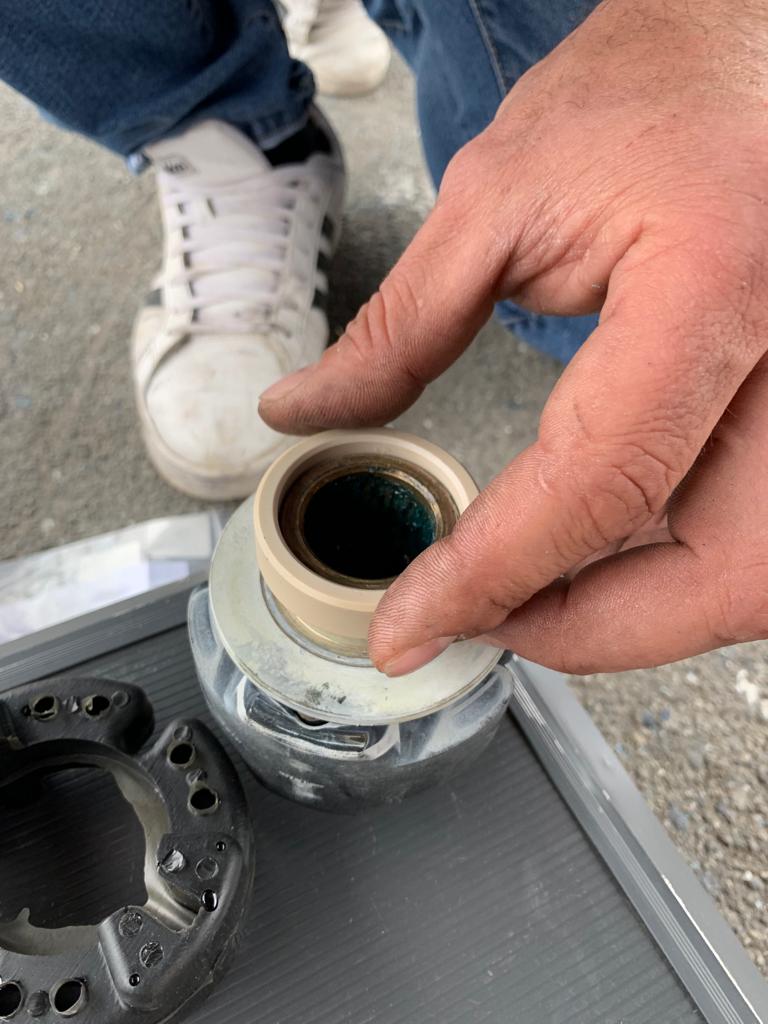
When we check the side-by-side photo of both technologies, we can easily understand the benefits of going with TrueDesign: made out of glass-reinforced nylon composite, they are very strong and also light weight, with no metallic part, thus no oxydation.

“Designed and made in New Zealand for use in marine applications above and below the waterline, our Ball Valves are IMCI and Bureau Veritas approved to ISO standard 9093-2. They also comply with ABYC H-27 500Lb standard. They are ideal for controlling inlet and outlet water requirements.
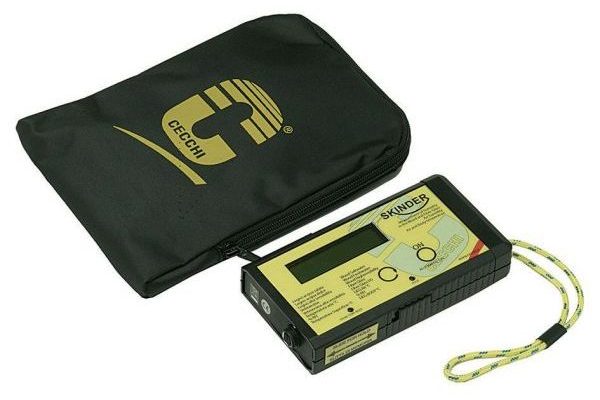
Position Monitoring allows remote monitoring of Ball Valve Position. The Position Monitoring circuit can also be used as part of an engine or generator start interlock to ensure these don’t start without cooling water available.
The body of the Ball Valve is manufactured in glass-reinforced nylon composite with high impact and tensile strength resulting in a light weight unit, free from corrosion and electrolysis issues. The ball and sealing rings utilise a PTFE polymer to ensure a smooth action, and continuous ease of operation over many years. The Ball Valve is available in both BSP and NPS Parallel thread forms and can be locked in the closed position for use on toilet waste outlets.”

True Design

The True Design seacock units had been previously been ordered with our partner Andrea, from Nautilhouse here in Licata, and so we could conduct the work within the day.

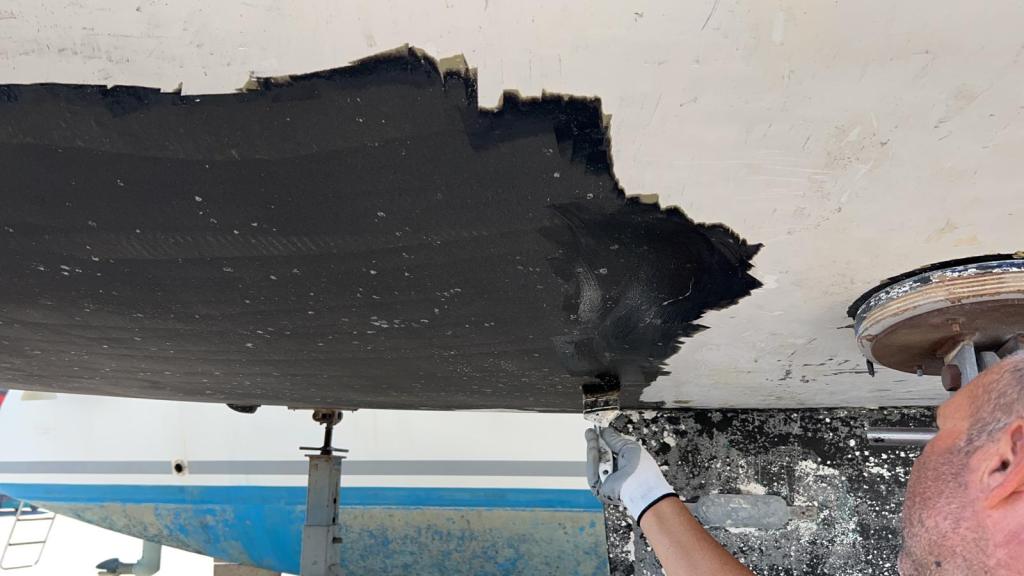
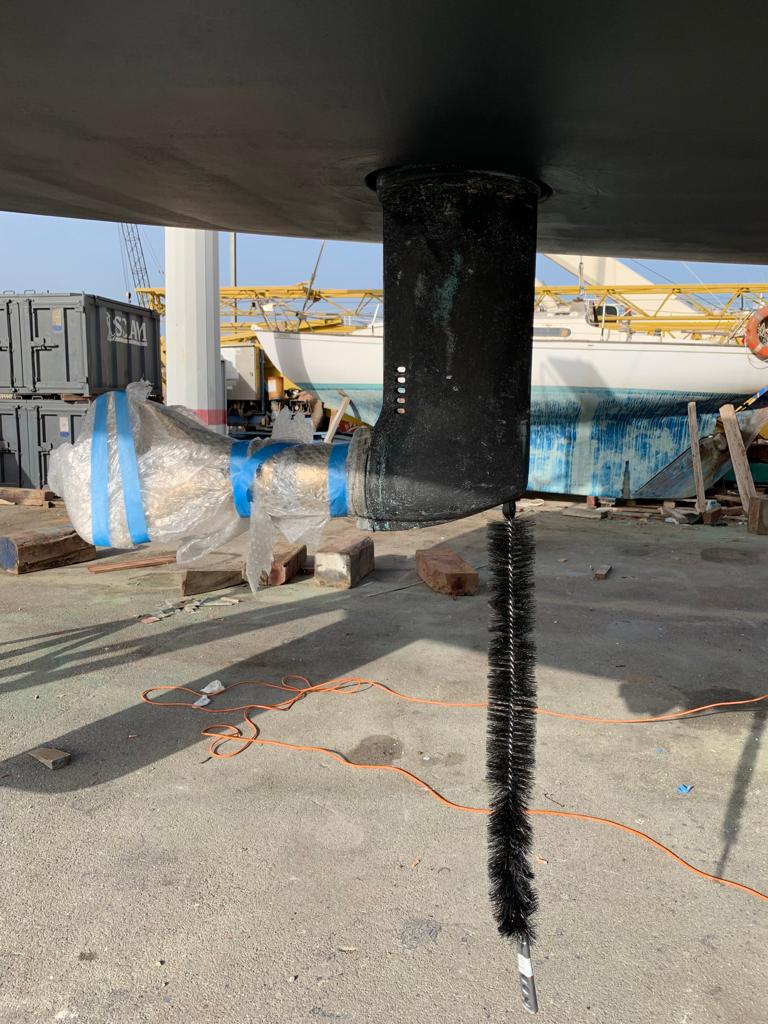
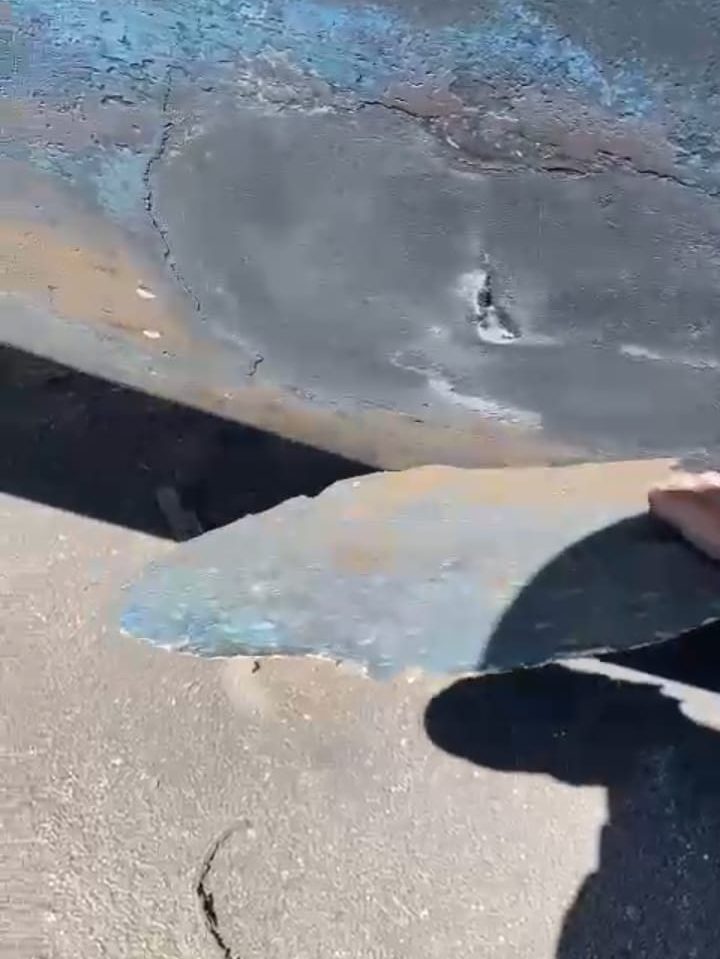
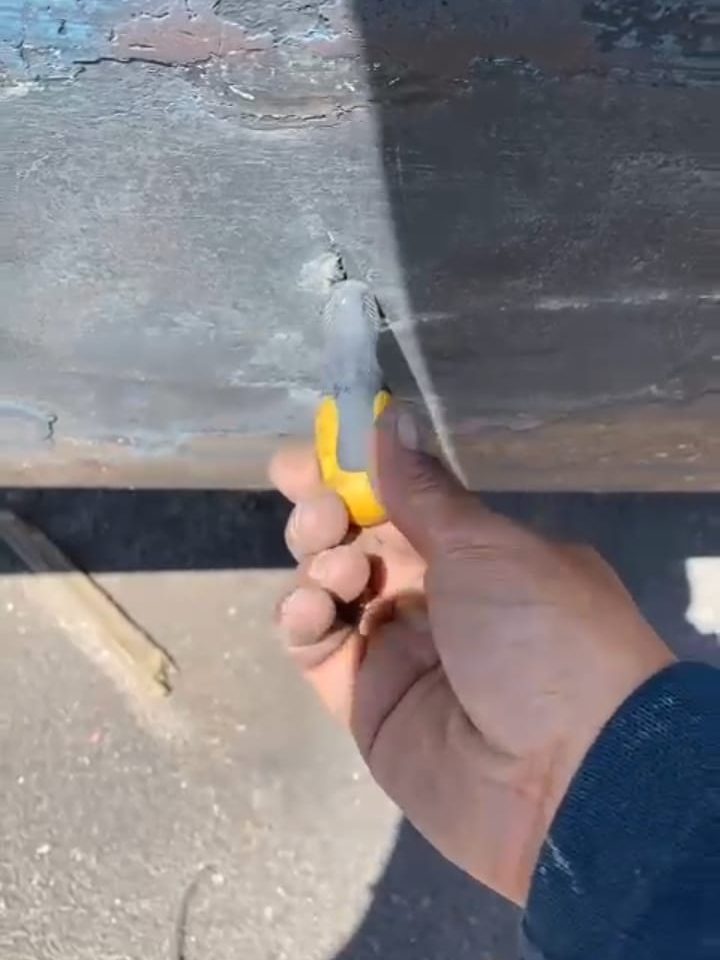
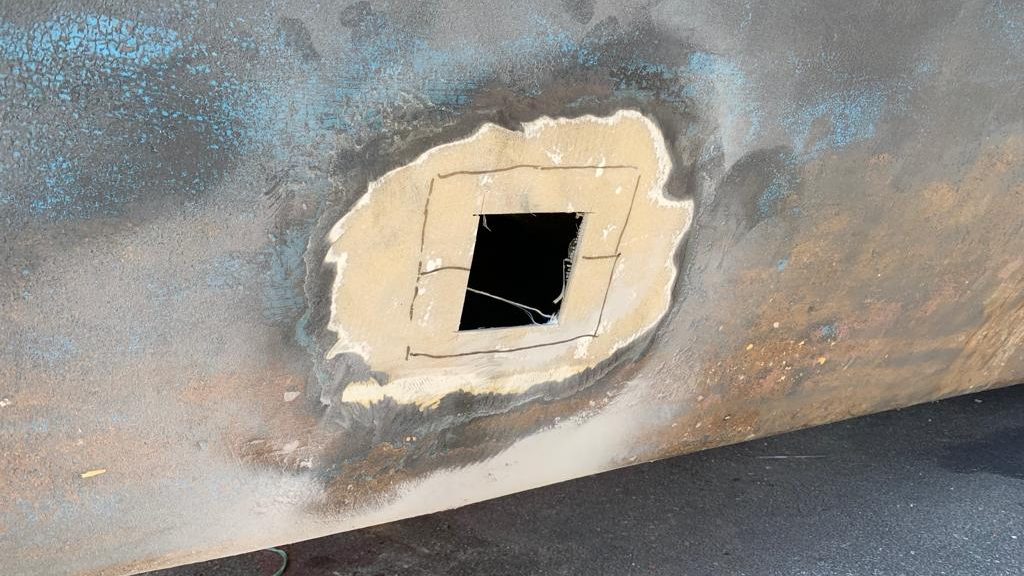
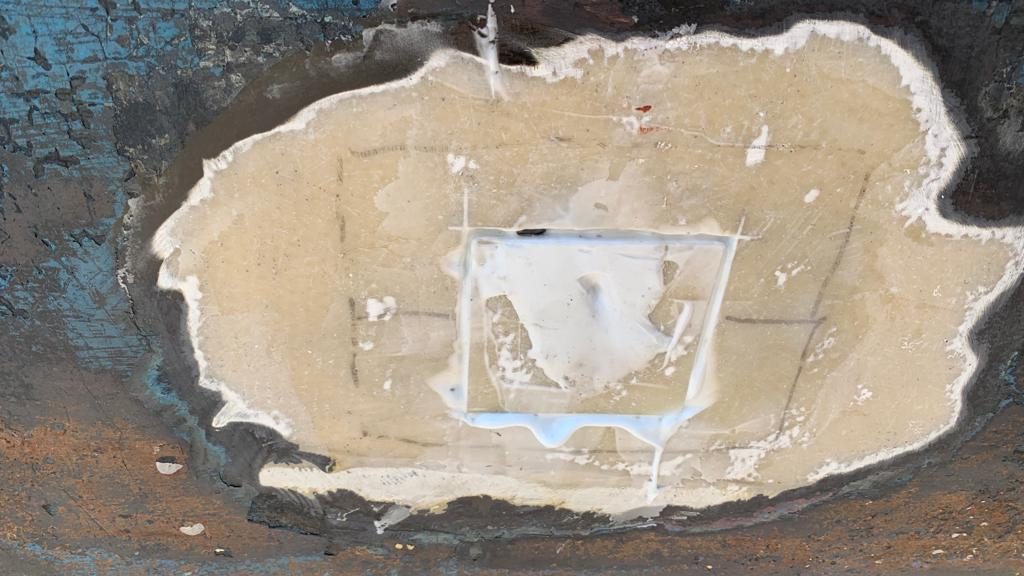
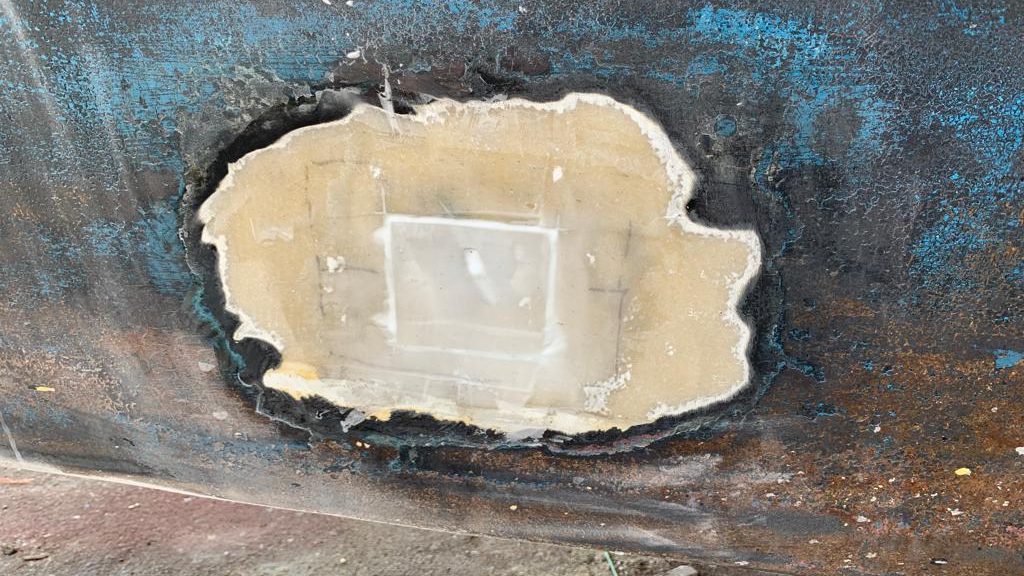
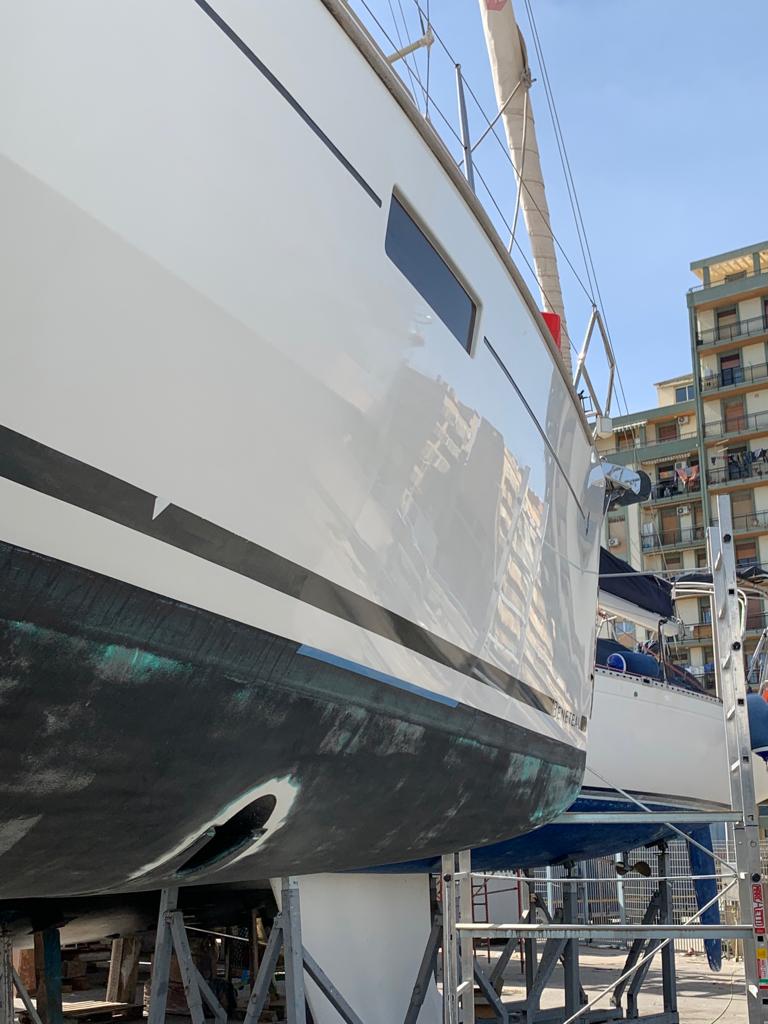
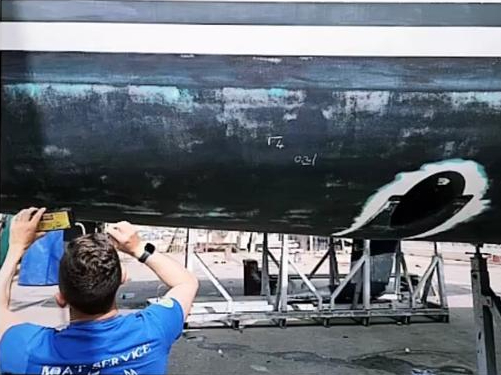
And this is when one realizes modern-conception boats have a lot of holes in their hull – basically one per use.

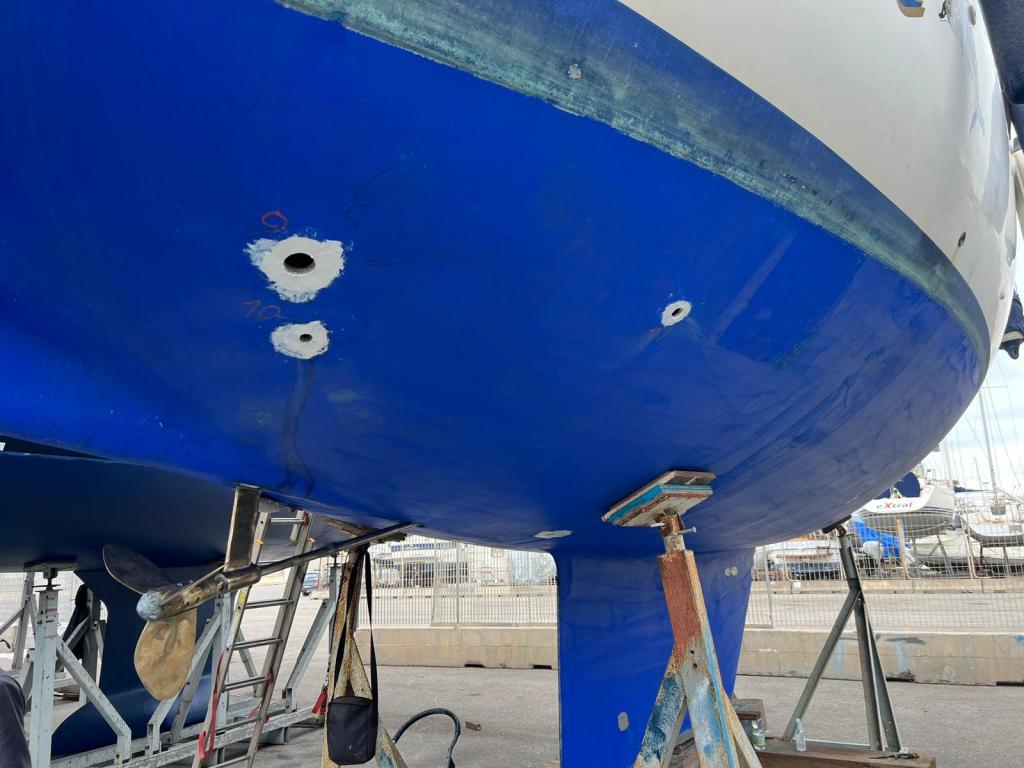
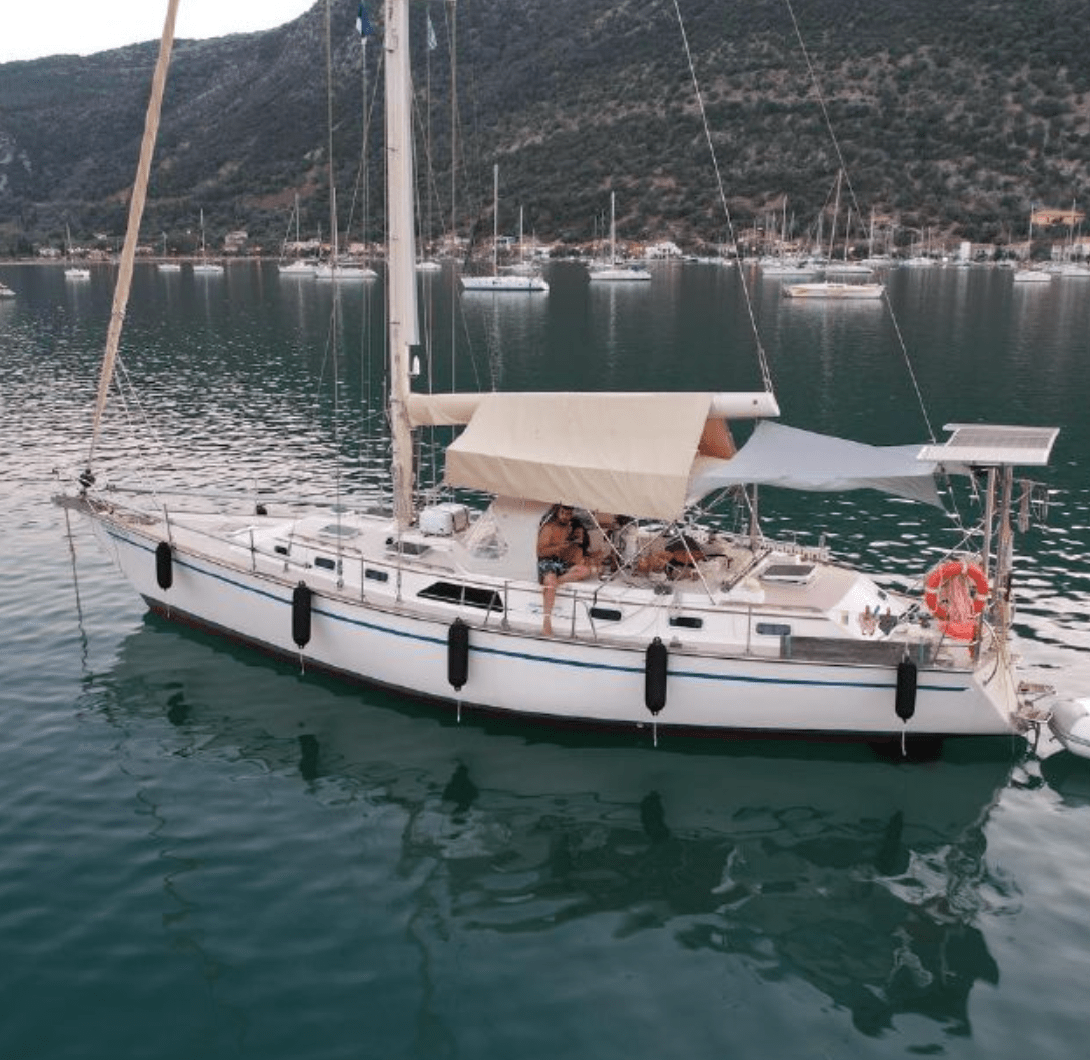
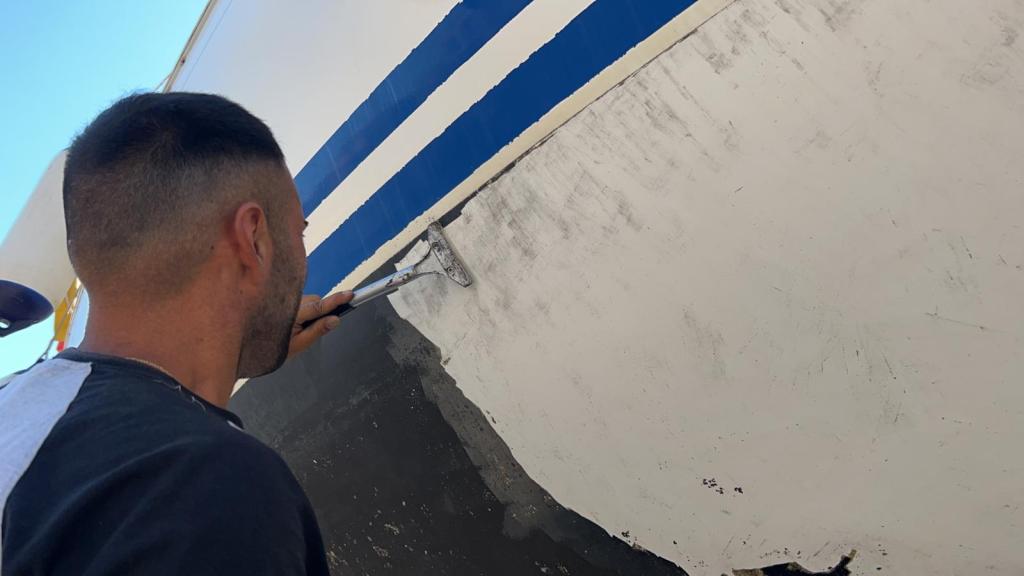
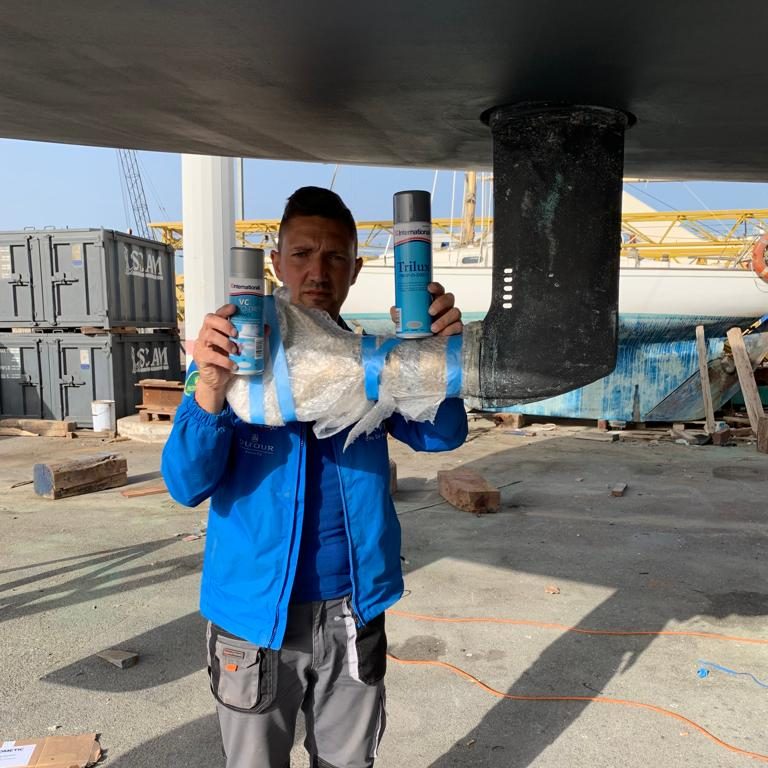
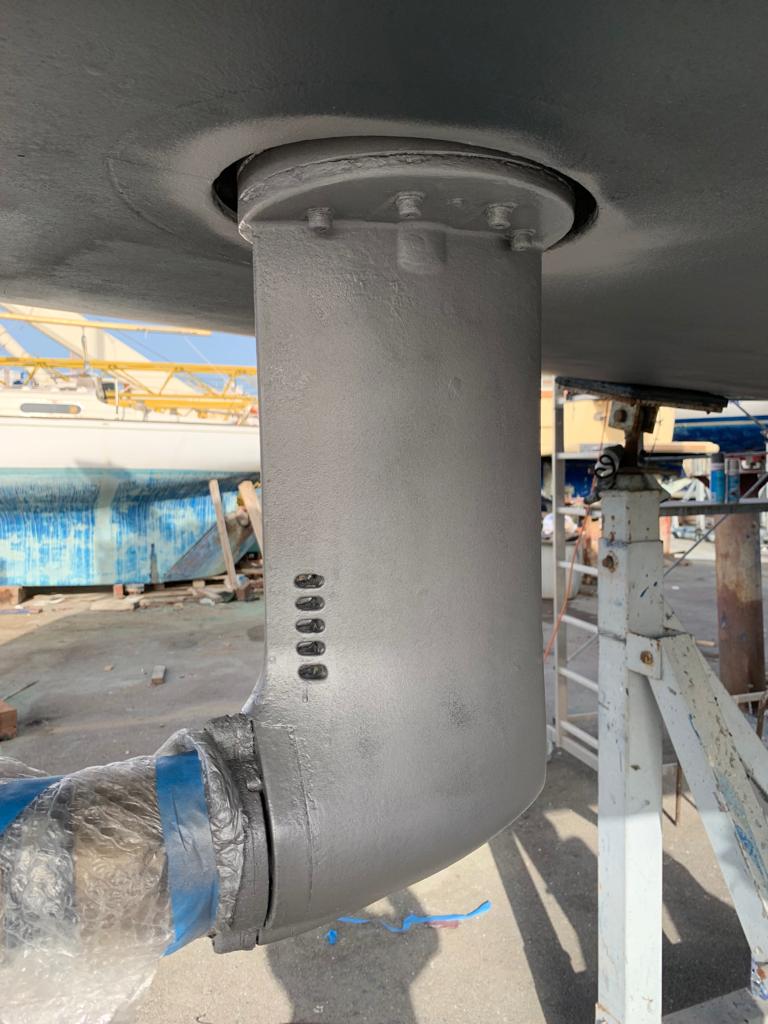
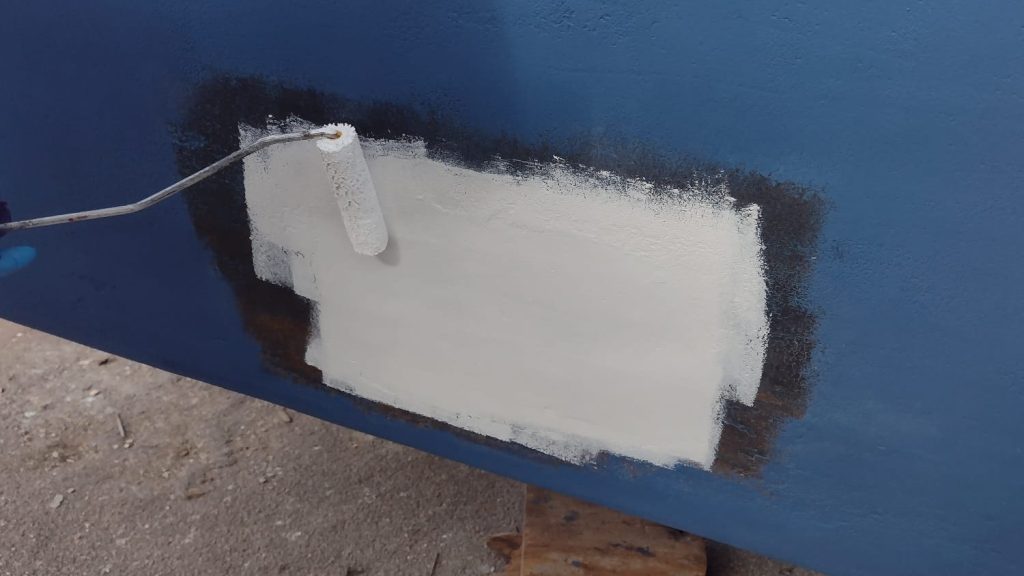
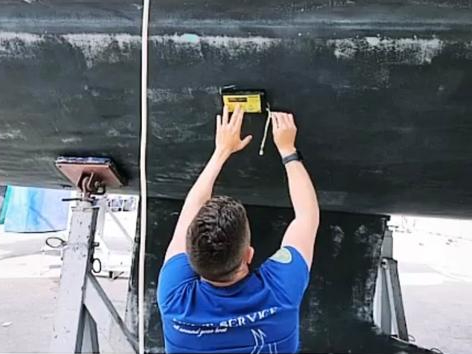
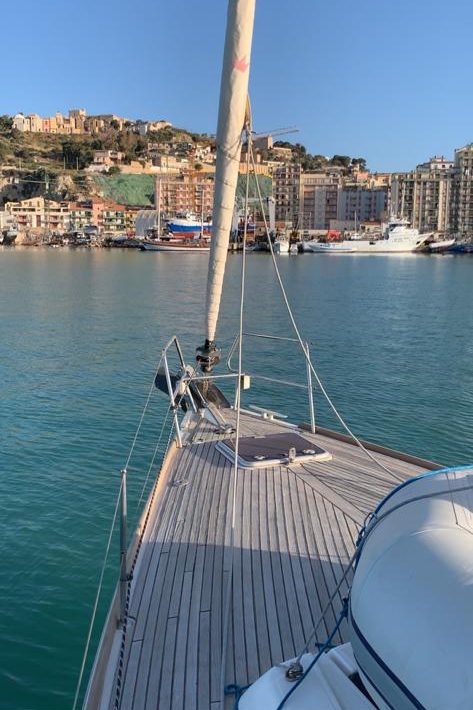
After a little paint, then it was time to bring back the beautiful Odyssée to her natural element, and for Sam to resume his sailing season preparations.

Pre-sale engine oil analysis

We have this beautiful 1988 Morgan 40 yacht on our brokerage listing. Her name is WildCat, which we love. Everything on board is in mint condition, and it really seems like the perfect deal to prepare for a gorgeous summer 2023 sailing season.

But what about the Yanmar 4JHBE engine?
(asks the potential buyer)

After a visual inspection, we could tell it was properly taken cared of. But after so many years and 6000h, we needed to provide more clue that it wouldn’t fail in the short term. This is when we proposed to make an oil testing.

It’s a pretty straightforward process. First you get a small sample of oil in the bottle sent by the oil analysis lab. There is no need to change the oil in the process, as the quantity needed for analysis is so small. The engine should be warm when taking the sample.

Then we shipped to Firenze the sample for analysis.

We will comme back to you with the results 🙂


Oil testing informations

Oil testing is a pretty cheap way to provide a clear picture of an engine’s health. For instance a spectrochemical scan will provide information on the following:

Oil viscosity – How well adjusted are carburation or injection? Too fluid, it can mean it needs to be changed, or is polluted by fuel. Too thick, again need to be changed and/or polluted by combustion residues.

Fuel oil dilution – Low-level dilution means that the engine is well tuned. High dilution will signal a maladjusted carburation or injection or maybe an abuse of the choke.

Presence of water or sodium in the oil – Revealing a cooling system leak. Can be an internal coolant leak or water condensation. Check the cylinder head gasket side or a cracked cylinder head.

Metallic particles in the oil – It is normal for the oil to carry metal particles. But an excessive presence may reveal potential issues, depending on the metal detected:

  • Aluminium: excessive piston wear.
  • Iron: Excessive distribution wear.
  • Chromium + Molybdenum: Excessive segments wear.
  • Copper, lead and tin: Excessive wear on connecting rod and crankshaft bearings.
  • Presence of silica: This will reveal an air filter malfunction, as the engine would swallow dirt, meaning either a defective air filter or a leak in the air intake system.

The report will usually provide information in on the following topics:

  • Oil properties
  • Oil additives (if any)
  • Air admission quality
  • Coolant circuit integrity
  • Coolant condensation status
  • Wear of main engine top parts
  • Wear of main engine bottom parts
Exemple of Oil Analysis report (French)

We could also test the coolant for contamination metals, but the buyer thought it’d be an overkill for the engine.

Lagoon F450 teak stairs cover

The owners of this Lagoon F450 wanted to extend their teak deck to the fly-bridge stairs. Not an easy project, and we had to think about a specific methodology to solve, but everyone’s happy with the result.

First we made mock structures of each of the stairs — 6 of them in total –, so that we could execute the delicate work in the workshop instead of on the boat. Also we had in mind the industrialization of this process, allowing easier reproduction for any other Lagoon L450.

Then we prepared each stair teak cover individually, with teak on one side and fiberglass on the other. This way it could perfectly fit on the existing gelcoat.

And last, we fixed them over the existing stairs. This part is really so easy, it can be done by everybody with a little Sikaflex (or equivalent) experience). This is where we are thinking of reproducing this work for other Lagoon L450 owners, as the result is so gorgeous.

All in all a beautiful result we’re so proud to share with you that we even made a quick video about it 🙂


You also want this cool feature on your Lagoon F450?
Take advantage of the work preparation already done, and Contact us now.
We ship all over Europe and we can remote-help you with the fitting.

Elia di Prima

Lagoon 450 teak front cockpit

Normally the Lagoon 450 doesn’t come with a teak front cockpit. However, this owner wanted one matching the teak he had in the back. We started this project from scratch a couple of weeks ago.

The initial structure is built in our workshop.

Final adjustments and polishing are made on the yard.

This is a short video of the installed teak deck. You can see how well it fits to the complicated shape of this front cockpit.

Hull preparation on a Jeanneau 45.2

Last week we conducted a deep work on the hull of S/V Via Cosi, a beautiful Jeanneau Sun Odyssey 45.2 yacht.

It implied lots of scraping, polishing, and new paint, But first the owner asked us to remove the old antifouling layers, always a delicate work if you don’t want to damage the gelcoat beneath.

To take away the old Antifouling layers, we used Interstrip AF, a product specifically designed for this purpose.

Yanmar 3jh3e maintenance

Starting the summer sailing season with an engine issue sucks. But then, it could be worse and happen in the middle of the journey. This is why we do preventive maintenance on our clients’ yachts.

On this Lagoon 39, we performed the regular maintenance, and also a thorough valv clearance check.

Our engine whisperer, performed this with a few hours of skill and experience.

Oceanis 45 Gori propeller maintenance

Last week, we took this Oceanis 45 out of the water to our yard, so that we could test the hull integrity vs. osmosis. Afterward, we got her ready for the sailing season and a planned journey to South America. In the process, we realized that the Gori propeller on this boat, not one we get to see very often, was very lose, and we decided to change the bearings.

Before starting this kind of project, you better check that you have all the spares.


After this, it was time to go for the propeller and Sail Drive protection. Under our advice, the owners decided to use Trilux Prop-O-Drev for the protection of the Sail Drive, and our PropSpeed Primer and Coat special treatment for the propeller.

After a couple of season testing it on various type of boats, both motor and sailing, we believe PropSpeed is the best choice currently. To get all the details on its benefits, please refer to this previous post.

In the process of preparing the Sail Drive for its own treatment, we use a very long “bottle brush” to insure that the Sail drive is free of any organic troopers. And of course we fully cover the propeller so that the two products don’t mess one with the other.

My name is Elia di Prima, and I fully endorse the use of Trilux Prop-o-dev 🙂 (disclaimer, we have no conflict of interest expressing this professional comment)

The Trilux work sheet recommend 3 coats on the Sail Drive, with a 30mn drying time in-between..

And with this and the hull fully painted, it was time to move onto our next project.

Catamaran hull repair

This is the kind of project we are living for, when we feel we deliver maximum value to our client, bringing-in smart solutions, instead of expensive ones.

The owner of this nice catamaran came to us with quite an unusual problem. A very poor repair which was previously performed on his hull plainly fell off. And then there was a hole in the hull! After quite a few years of boat repair experience, we thought we had seen it all. Well, you really need to check out this one with your own eyes to believe it.

This is the most busy season for us, when all owners are calling to get their boat ready for the summer season. We had to think quicky for a fast, although definitive, repair, before adding this new challenge in our busy schedule. And since this was not exactly our first fiber rodeo, we started right away.


There could be two approaches for this problem. A repair from the outside, as done in the first place, and this can only end the same way, or one from the inside, which would imply dismounting a large area of the boat furniture, consuming many hours just to reach the repair zone.

Then there is our way, based on extensive experience with fiber repair …

Step 1 : Sand the area to see the extend of the problem. Then, cut clean the hull part which needs to be repaired. We know this can come as a shock for all sailors, to see a hole this size in their hull, but it’s the only way to make a definitive repair of a much smaller one.

Step 2 : Bring-in the magic !

About Cecchi’s Epoxy C-Systems 10 10 CFS, for those interested (in italian)

Step 3 : Build a support system to work-out the hull rebuild process.

Step 4 : The damage part being repaired, put it back in place. This method is not only the most definitive one, but it allowed us to achieve in a couple of hours what could have required over a day.

Step 5 : It’s now only a matter of sanding to prepare the support for the epoxy primer, then the hull final paint job.

The end : The owner couldn’t believe his eyes, when we started to cover the repair with the epoxy primer, prior to finish painting. This hull is indeed fully restored to its original condition.

New galley on an 19m power boat

Last February, the German owners of m/v Jua, an 18,8m power boat, asked us to make numerous improvements and hull work, including a complete refit of their galley, furniture, topside and appliances. Of course, being a power boat, they didn’t have the usual constrains we have to cope with on our sailing boat clients.

In this case, they pickek a beautiful granit topside which was made in Sicily.

Even while the project is still going on, but it’s already very satisfying to compare a before & after image.


It only took us a few more days to get the delivery of the appliances, faucet and sink so that we could finish the job. This part was fairly straightforward, compared to the granit topside adjustment.

The result is a game-changer in the galley. It feels both very solid, to sustain any cooking exercice, and homey at the same time, which is unusual on many boat galley.

The induction cooktop and the electric oven bring to the owners the most efficient cooking experience.

At night, the boat light system seem to highlight even better the beauty of this galley. Here, we can see how the sink fits perfectly with the counter-top style, also very practical with its two areas. The tap is a dual model, which allows a differentiation between drinking and standard water.

All in all a very nice project which we were proud to deliver to the happy owners. Seeing such a big difference between “before and after” is always very satisfying for our little team.

Oceanis 45 hull check & prep

The new owners of S/Y Tokerau, a beautiful Oceanis 45 from Beneteau, asked us to check their hull against osmosis, change all seacocks, and to get her prepared for an ambitious Atlantic crossing at the end of the summer season.

So it all started by an early morning short and peaceful journey from Marina Cala del Sole to the yards.

After hauling her out with the 300 tons travel lift we have here in Licata, the hull was cleaned, and we started the preparation for the work: hull polishing, antifouling, change of anodes and seacocks and finally osmosis analysis.

Hull polishing is always very satisfying, as you bring back the boat to its pristine condition.

Finally, we checked that the hull was sound from osmosis by measuring humidity in various locations.


Why is it important ?

Measuring positive humidity in a fiberglass hull means one of two things: (i) starting of osmosis or (ii) exiting potential osmosis. It implies loss of fatigue strength and decreasing tensile stress.

Fiberglass has replaced many materials for it is malleable, cheap and low servicing benefits. It has lead to the worldwide yachting industry as we know it. But these benefits need to come with technical skills (respect of mixing and lamination phases and temperatures for instance). In the end of the day, it must contain no humidity at all.

Humidity is the cause of osmosis: through the gelcoat, it dissolves the defective residues of a bad polyester catalysis and creates a viscous liquid with a strong acetic smell. Volume increases and triggers the well-known swells on the hull.

In case you’re interested, we use “Cecci’s Skinder Moisture detector for wood and fibreglass“. It’s kind of pricey, but you have all the necessary tech at the palm of your hand.


We didn’t detect any osmosis issue there, and we were able to complete all the work swiftly. The happy owners could resume their season’s sailing preparation after only a few days on the hard.

We’re never more happy than when we feel like contributing to someone’s dream. And dealing with sailboats gives us many opportunities to do so, this is what we love most about our work 🙂